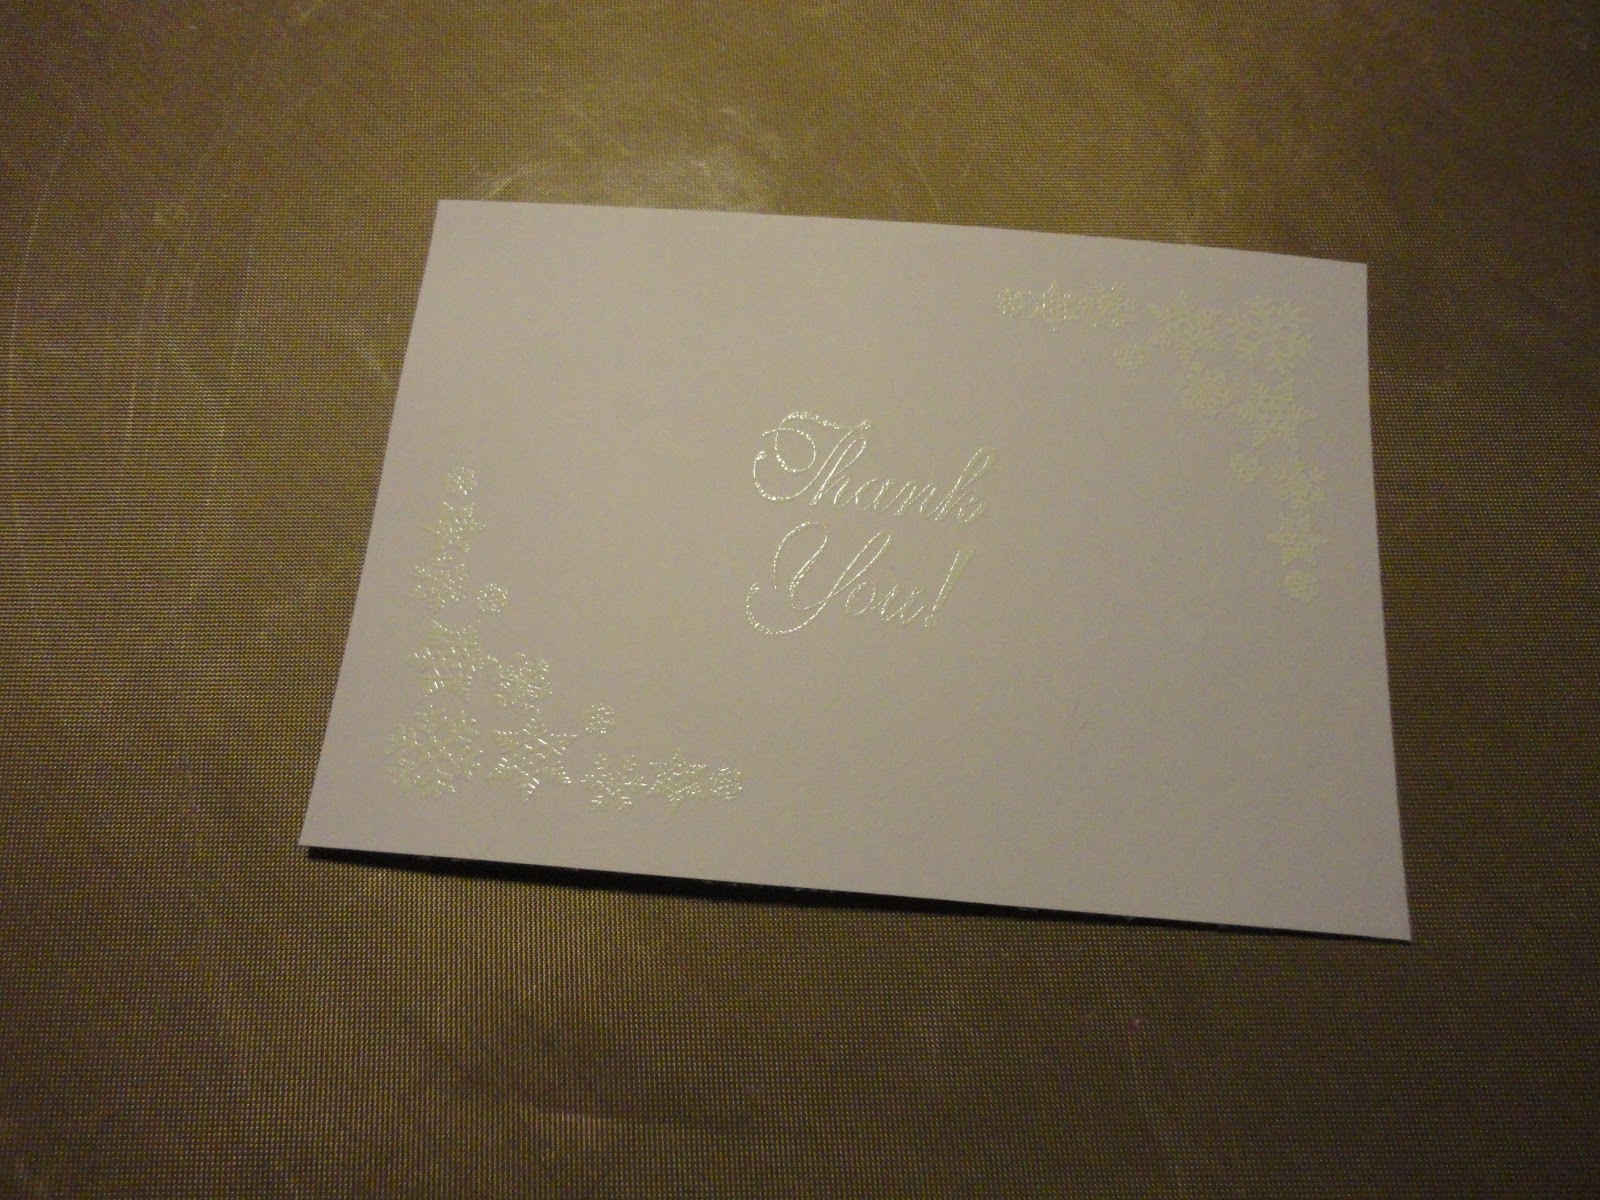
Today I get up to date on the thank you cards, with the set I made for this Christmas.
I combined old and new a bit on these - resist embossing, with distress oxides.
I started by cutting my card to size to go on an A6 card blank. I then stamped and heat embossed my designs. I used the same thank you stamp on each - a wooden stamp I got in a charity shop. Around this I used different stamps and embossing powders.
The first three used a platinum powder - it's a pale gold colour that I really like. I used the larger holly and ivy stamp from Clarity, and their larger leafy swirl stamp.
I then moved to white, repeating the leafy swirl stamp,
then snowflakes,
then corner stamps (the stamp platform came in handy for mirroring the position),
then knitting patterns.
For colour, I then added the distress oxides to my mat, spritzed with water, and dabbed the embossed card in. Some looked good after one layer, some had one or two more. The resist worked amazingly well - the opacity of the distress oxides gives the impression they'd cover the embossing somehow, but they didn't at all, it was crisp and clean, and gave a great contrast.
For the snowflakes, I went for blues and purples, frosty colours.
The snowflake corners started with just blues, then I added the wilted violet in a second layer as it looked a bit plain.
This one had more purple added to the mix on the mat, and has come out really pretty with one layer.
I went for the turquoise/green colours for this card - I love turquoise and gold together. But it looked too uniform when it dried, so I added twisted citron for some zest.
This one is also turquoise; instead of the twisted citron, I flicked water at this one then lifted with a towel to give more texture in the colour.
I went for more traditional Christmas colours - red and green - here, to tie in with the holly design. It looks more fiery than Christmassy, but I love it!
Bethany wanted green for this card - it's her favourite colour. I added a touch of fired brick for a second layer, as it looked a bit plain and washed out with just greens.
And my favourite card of the lot, which was also Bethany's colour choices - wilted violet, picked raspberry and twisted citron. The lime has merged into the other colours so can only be seen in a very tiny section in the centre, but has created gorgeous orange and coral shades in the mix - one of those things you can't predict and probably couldn't replicate easily.
Each card was edged in one of the distress oxides, to match, before being mounted onto the card blank.
That's me up to date with thank you's! I shouldn't need more until Bethany's next birthday in November - maybe she'll be old enough to make her own then!
Following on from yesterday's post sharing the thank you cards from Bethany's second birthday, here are the thank you's from her third birthday a couple of months ago.
I have photos of all the finished cards this time, but none of the process!
I used the hexagon petite gel press plate for these, with distress inks and stencils - mainly the petite dotty wave, petite leafy swirl, and the petite fossil leaves. I layered the colour, using what was left on the gel plate after one print to add a layer to the next one. I found I needed at least three layers to look good - a plain base, then subtle dots, with a bolder swirl was a good combination. The colours were a bit random - whatever took my fancy, or Bethany's suggestions as she "helped" me. A few of the prints didn't turn our great, so I turned the card over and started again! One or two became indistinct, so I experimented with distress oxides. They're too opaque for much layering, but for a bold final layer they do a great job!

For the sentiments, I used distress reinkers. I dropped a mix of colours on the craft mat, spritzed with a little water, then dipped and dragged offcuts of card through them. I used a few different colour combinations. They were then die cut with the "thank you" die. Matching the die cuts with the backgrounds to find combinations that worked took a bit of time! I ended up with a few spare words to go into the stash, as well as having quite a lot of the card they were cut from over.
Finally, each background was edged with sharpie - either to match the words, or with metallic - the metallic sharpies are a new purchase and have great coverage! They were mounted on 5x5 card blanks.
After that "all" I had left to do was to write them all! Bethany helped with this too, adding drawings to the inside of each.
This is a bit of a catch up post - these are thank you cards I made for my daughter's birthday in November 2016! But I haven't got round to posting them before.
These come from the early days of trying to use up my stash of backgrounds, rather than just adding to it. The first iteration of that was the party bags for the same birthday - I had the white bags, so raided the stash and cut rectangles with a die, then did some simple stamping and edged with sharpies - here are the pieces before I attached to the bags.
I still think these look good - nice and bright and fun. One or two of the bags are still kicking around.
The thank you cards are somewhat more subdued. I used a range of backgrounds in soft greens and greys, mostly distress ink used on a gel plate.
To these I added the ribbon thank you stamp from Clarity, in grey ink (I think it's a pigment ink), then shaded with Faber Castell pencils in grey.
They look really washed out in the photos! They weren't quite this pale in real life. I edged with grey ink before mounting on the card blanks.
I made quite a few - Bethany was a lucky girl and got lots of presents - and I thought I'd taken photos of more, but these are all I can find to share with you.
Hubby asked me this evening if I could make a thank you card for his form to sign (he's a teacher) - for tomorrow! But not to go to too much trouble...
So an exercise in quick and simple - which is refreshing sometimes.
I found this feather stamp a few days ago - it's a Stamps Away one I bought last year at a workshop with Ali Reeve, but hadn't used yet (and had forgotten about). This was good excuse to get it out; I simply stamped it across a 7x7 piece of stencil card. (As this needs to be signed by lots of people, I'll use an 8x8 card blank, so won't be cutting down the background for once.) I used iced spruce distress ink for a subtle colour.
I then got out this big ribbon writing Thank You stamp from Clarity. I stamped with versamark and heat embossed in silver. To make the words stand out more, I filled them in with a dark grey pencil (Faber Castell polychromo).
Then I simply edged the piece with a grey sharpie, and mounted on the card base.
Quick, simple, but pretty and clean, and quite elegant I think.
This stamp will look great in multiple colours, and shimmer - will have more of a play next time!
Last July, the woman who'd taught Bethany and I baby signing for over a year and a half, had her last class. Some in the group had been with her for years! So we had a collection, and I volunteered to make a card for everyone to sign. (It's taken me a while to get round to blogging it!)
As it needed to be quite large, I used an 8x8 card blank, and 7x7 stencil card for the main image, without trimming it.
I attached the brick wall stencil from Clarity with masking tape, and brushed over a light layer of distress ink, peacock feather round the outside, crushed olive inside this, leaving the centre light. I then added the left swirl stencil over the top, and added more ink, to give a more subtle swirl pattern. I used the same inks, and added salty ocean to deepen the colour.
With the stencils removed, this is the result.
Very pretty I think!
Next step is to add the message in the middle. I used the word chains for this - I don't have a Thank You, so had to mask letters from other words to create this, and the name. I used black archival ink.
I don't have a K in any of the words, so used the R from Remember, with the top masked off. I neatened up the edge with a permanent pen, and also the i which didn't stamp completely.
Next to create a frame and cover the white strip round the outside of the card.
I used the wee flowers and foliage stamps from Clarity, and (mostly) second generation distress ink, peacock feather and crushed olive again.
I used the leafy stamps above, like tree branches, and the more grassy ones below. I used the full length, coming right into the picture.
I then repeated with black archival ink, stamping off the page to give a black frame at the outside of the card.
I like this effect, they're such useful stamps.
To mount the card, I edged this with a black sharpie. I cut a larger mount and edged this too.
I quite like the black and white, but decided colour would work better, so blended the peacock feather round the mount card.
I also decorated the envelope, using the same stamps and colours.
I usually forget to do this until after I've put everything away!
I think there's a nice balance in this card - the colours are bright and fresh, but not too pretty, and the flowers and swirl are offset by the brick pattern. At this angle you really get a sense of dimension.
I liked the design enough to make some variations over the next few months.
This was a 6x6 card so the border was more restrained, with a cooler colour choice, in horizontal bands rather than circles.
I used a circles stencil, rather than the leafy swirl for this version, and bright reds and oranges.
I swapped out the foliage stamps for some funky circle patterns.
While not super quick to do, this is a great go-to design for birthday cards. The colours and patterns can be swapped to suit the recipient, and of course the name added - what's the point of handmade birthday cards if you can't personalise them?