Today I get up to date on the thank you cards, with the set I made for this Christmas.
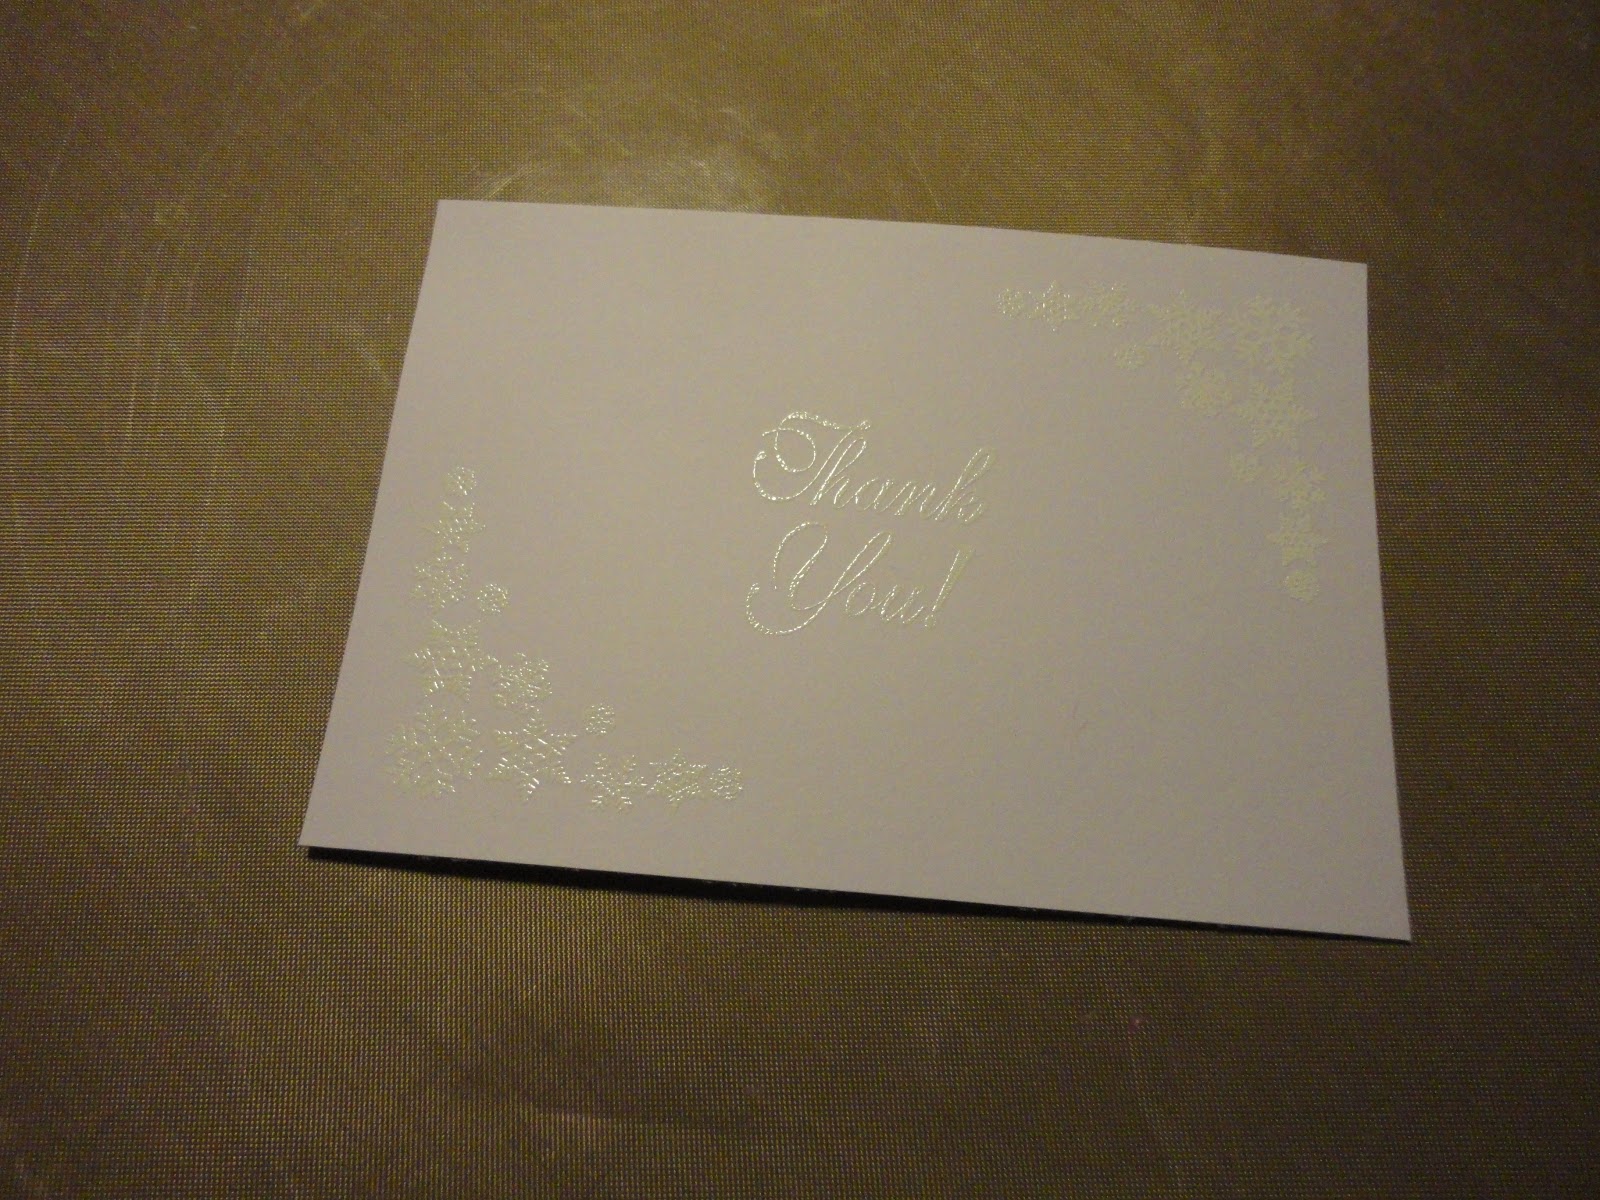
I combined old and new a bit on these - resist embossing, with distress oxides.
I started by cutting my card to size to go on an A6 card blank. I then stamped and heat embossed my designs. I used the same thank you stamp on each - a wooden stamp I got in a charity shop. Around this I used different stamps and embossing powders.
The first three used a platinum powder - it's a pale gold colour that I really like. I used the larger holly and ivy stamp from Clarity, and their larger leafy swirl stamp.
I then moved to white, repeating the leafy swirl stamp,
then snowflakes,
then corner stamps (the stamp platform came in handy for mirroring the position),
then knitting patterns.
For colour, I then added the distress oxides to my mat, spritzed with water, and dabbed the embossed card in. Some looked good after one layer, some had one or two more. The resist worked amazingly well - the opacity of the distress oxides gives the impression they'd cover the embossing somehow, but they didn't at all, it was crisp and clean, and gave a great contrast.
For the snowflakes, I went for blues and purples, frosty colours.
The snowflake corners started with just blues, then I added the wilted violet in a second layer as it looked a bit plain.
This one had more purple added to the mix on the mat, and has come out really pretty with one layer.
I went for the turquoise/green colours for this card - I love turquoise and gold together. But it looked too uniform when it dried, so I added twisted citron for some zest.
This one is also turquoise; instead of the twisted citron, I flicked water at this one then lifted with a towel to give more texture in the colour.
I went for more traditional Christmas colours - red and green - here, to tie in with the holly design. It looks more fiery than Christmassy, but I love it!
Bethany wanted green for this card - it's her favourite colour. I added a touch of fired brick for a second layer, as it looked a bit plain and washed out with just greens.
And my favourite card of the lot, which was also Bethany's colour choices - wilted violet, picked raspberry and twisted citron. The lime has merged into the other colours so can only be seen in a very tiny section in the centre, but has created gorgeous orange and coral shades in the mix - one of those things you can't predict and probably couldn't replicate easily.
Each card was edged in one of the distress oxides, to match, before being mounted onto the card blank.
That's me up to date with thank you's! I shouldn't need more until Bethany's next birthday in November - maybe she'll be old enough to make her own then!
Following on from yesterday's post sharing the thank you cards from Bethany's second birthday, here are the thank you's from her third birthday a couple of months ago.
I have photos of all the finished cards this time, but none of the process!
I used the hexagon petite gel press plate for these, with distress inks and stencils - mainly the petite dotty wave, petite leafy swirl, and the petite fossil leaves. I layered the colour, using what was left on the gel plate after one print to add a layer to the next one. I found I needed at least three layers to look good - a plain base, then subtle dots, with a bolder swirl was a good combination. The colours were a bit random - whatever took my fancy, or Bethany's suggestions as she "helped" me. A few of the prints didn't turn our great, so I turned the card over and started again! One or two became indistinct, so I experimented with distress oxides. They're too opaque for much layering, but for a bold final layer they do a great job!

For the sentiments, I used distress reinkers. I dropped a mix of colours on the craft mat, spritzed with a little water, then dipped and dragged offcuts of card through them. I used a few different colour combinations. They were then die cut with the "thank you" die. Matching the die cuts with the backgrounds to find combinations that worked took a bit of time! I ended up with a few spare words to go into the stash, as well as having quite a lot of the card they were cut from over.
Finally, each background was edged with sharpie - either to match the words, or with metallic - the metallic sharpies are a new purchase and have great coverage! They were mounted on 5x5 card blanks.
After that "all" I had left to do was to write them all! Bethany helped with this too, adding drawings to the inside of each.
This is a bit of a catch up post - these are thank you cards I made for my daughter's birthday in November 2016! But I haven't got round to posting them before.
These come from the early days of trying to use up my stash of backgrounds, rather than just adding to it. The first iteration of that was the party bags for the same birthday - I had the white bags, so raided the stash and cut rectangles with a die, then did some simple stamping and edged with sharpies - here are the pieces before I attached to the bags.
I still think these look good - nice and bright and fun. One or two of the bags are still kicking around.
The thank you cards are somewhat more subdued. I used a range of backgrounds in soft greens and greys, mostly distress ink used on a gel plate.
To these I added the ribbon thank you stamp from Clarity, in grey ink (I think it's a pigment ink), then shaded with Faber Castell pencils in grey.
They look really washed out in the photos! They weren't quite this pale in real life. I edged with grey ink before mounting on the card blanks.
I made quite a few - Bethany was a lucky girl and got lots of presents - and I thought I'd taken photos of more, but these are all I can find to share with you.
Happy New Year!
We have a new theme at the Berkhamsted Creative Challenge for January, "Starts with 'A'"
So to kick off the month, and take advantage of some down time with hubby home to help look after the little one, I thought I'd do a quick bunting triangle. I am collecting a little stash of these now, I must work out how best to weather proof them and get them up!
I started with a background from my stash.
This is ink from my hexagon petite gel press plate, I was obviously stamping through the circles stencil a lot one day, this is the waste.
I cut a triangle using the template I made last year, to ensure my triangles are all the same size!
I then decorated with letter A's. I started with alphabet stencils, both from Clarity, and sponged through with acrylic paint. I then got out lots of my alphabet stamps, and distress oxide inks (as they're nice strong, bright colours) and stamped over the rest of the triangle. One (top middle) was an outline, so I filled with another distress oxide and a water brush.
To finish, I blended fired brick distress oxide around the edge, then vintage photo.
To join in with the challenge, come and visit us on Facebook - anyone is welcome to join (regardless of location!) and we love to get feedback and encouragement for our entries.
Our final Christmas Card Throwdown of the year is a bit different, as the big day approaches and things tend to get hectic for most people! We're asking you to pick a previous challenge from 2012 or 2013. The challenge archives are on the challenge site - over two years that gives you loads of choice, and loads of scope to be creative!
I have chosen to go back to April 2012 for a theme challenge
Although these cards could just about fit with the colour challenge from April 2013.
I had a session with the gel press plate a while ago, in preparation for another project which I really must blog soon!
I had these pieces left over.
This was a print in shades of blue, including metallic. I'd lifted paint off the gel plate with snowflake stamps before printing.
This was similar, but using a snowflake stencil to create a void in the print.
Finally, this was some of the card I stamped off on after I'd lifted the paint - so technically waste!
On the first two pieces, I covered the snowflake stencil in versamark and ran through the grand calibur. I then added silver embossing powder and heated. I wanted to fill the void in the second piece, but it was a bit wonky, and the void was larger than the stencil, so it looked a bit rubbish! But I think you can usually do something with most things. I tried adding ink to fill the white spaces around the embossing (which acted as a resist). I used salty ocean and chipped sapphire distress ink. And it looked amazing, if I do say so myself! It gave a really enchanted look. I wish I'd taken before and after photos, but as always I was pushed for time.
On the first piece, I added detail with a music score and a script stamp, using archival permanent ink over the acrylic paint (watering can and cobalt blue).
I cut each piece down to create smaller sections to go into aperture cards. I used the apertures, held over the larger piece, to work out which areas looked best and how to position them, before cutting down.
I wasn't organised enough to go and buy aperture cards, so I used dies to cut standard 5x7 and 6x6 cards. That meant I didn't have a third flap to cover the back of the sections and make them neat. Instead, I used an insert and fixed it at the edge as well as the centre of the front part of the card.
For the third piece (the waste!) I blended distress ink around the edge of the cut sections to create a large ombre, which again changed the cards from crisp to ethereal.

So from three pieces of card (and possibly some leftovers from other pieces, I can't remember exactly!) I made 8 beautiful cards!
If I were more organised (or didn't like playing and trying new things so much!) I'd do this more, making sets of cards together,
The snowflakes I've used for this are a stamp set from Clarity, which I go back to again and again. The stencil is also Clarity.
To join in with our final challenge of the year, head over to the Christmas Card Throwdown. You have until Friday 29th December to play - a long time at this busy time, and if you have any special cards you don't want to show until you've given them to the lucky recipient, you will still have a chance to post.
I look forward to seeing all the variants that you come up with from the challenges from the early years of the Christmas Card Throwdown.
A second, very different, card for our colour challenge at the Christmas Card Throwdown.
I bought this set of stamps in one of my bargain bundles a couple of months ago. It's not my usual style, but I thought the images were very pretty, so worth getting at sale price.
I started by stamping the reindeer in vintage photo distress oxide and using a water brush to draw to the colour. But it quickly got messy, so I stamped again, in potting soil archival ink this time.
I then coloured using the distress oxides and a water brush. Vintage photo and frayed burlap for the browns, and twisted citron, cracked pistachio and iced spruce for the greens, with salty ocean, stormy sky and black soot mixed in to create different shades.
To frame it, and bring the kraft card in, I cut an aperture with a die from a nested set from The Works. To add interest, I ran it through an embossing folder from spellbinders, then brushed vintage photo distress ink over to catch on the raised areas. I also edged the aperture and outside with the ink pad.
I used a little black soot to add shadow under the hooves to ground the reindeer a little.
I added to a 5x7 card blank.
I'm not a colourer, but I do enjoy playing with colouring images like this. Using the inks and water brush naturally gives variation and makes blending easy, so while it may not be perfect, I find I can get results I'm happy with, without a lot of skill.
To play along with this colour challenge, visit us at the Christmas Card Throwdown, you have until midnight GMT on Friday 1st December.
As we enter the final straight for Christmas card making (for this year) we have a colour challenge for you at the Christmas Card Throwdown.
I always find the colour challenges including kraft hard to get my head around - until this time I realised I could play with my distress oxides on kraft card!
I used cracked pistachio and twisted citron for my greens, and frayed burlap and vintage photo for the browns.
I also did a couple of pieces on white card (at the top in the photo), the lime green came out well on these, so they're in the stash, possibly for the reminder card next week!
For my first card (shown second above), I cut the kraft card down to size for a 5x5 card, then die cut my favourite Merry Christmas sentiment from the centre. I cut a white card to size to mount the sentiment on, using the remains of the piece I'd cut as a mat to frame it. I dragged the vintage photo ink pad around the edge.
The white looked a little plain, so I used a holly corner punch on each corner, which also showed the background through. After I attached the sentiment, I decided it was still too plain, so added some second generation stamping in brushed corduroy distress ink.
I wanted to show the background off more with the second card, so reversed it. I cut the sentiment from white card and added to the background. These letters are from a Christmas alphabet set I bought a while ago but haven't used. I think it's gorgeous, but the first time I cut it, the card stuck in the dies so tightly that I tore the letters trying to release them. I wiped over the dies with a tumble dryer sheet and tried again, with a slightly thinner plate in my machine, and they worked much better. I used the same holly punch on the corners. I edged with the vintage photo ink pad again.
Two more cards to add to the pile, which I'll need to start sending out very soon!
To join in with our colour challenge, head over to the Christmas Card Showdown, where you'll see all the great inspiration cards from my DT teammates. You have until midnight GMT (7pm EDT in the States) on Friday 1st December to enter. I can't wait to see how you play with this combo!