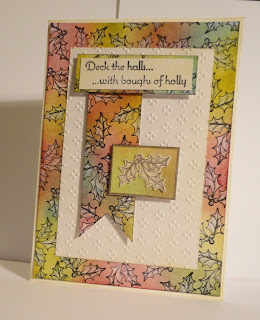
They've put out a Design Team Call, which I'm throwing my hat in the ring for, so I really wanted to do something special for the card this week. An ill baby has made that challenging, but here's what I've managed to come up with.
The challenge this week is this sketch.
I decided I'd start by making a patterned paper to use. This is based on a demo Barbara Gray did on her blog last Christmas - I reckon if it's stayed in my mind for nearly a year, it was time to try it. She made a panel card, I'm using it a bit differently.
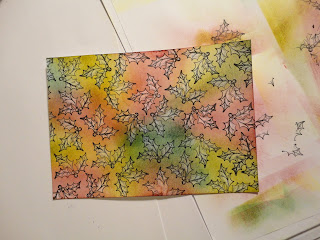
I started with Clarity Stencil card, and built up a background using distress inks - squeezed lemonade, crushed olive, bundles sage, pine needles and aged mahogany - and my new Clarity stencil brushes.
It looked a bit messy, but so did Barbara's at this stage, which reassured me.
Next I stamped a holly image over the background with stazon black permanent ink.
The background looks better already, but now for the magic bit - faux bleaching the leaves and berries with water to lighten them.
I love the way this looks, such a pretty effect.
At this point I started to plan the card. I've been making cards from the centre out, and they end up strange sizes, so I wanted to get this one to fit a 5 x 7 card base. Which meant the patterned section I'd done wasn't quite wide enough! So I expended it out - fortunately with this technique you can do this easily, as any colour that goes over the holly images can be lifted out again.
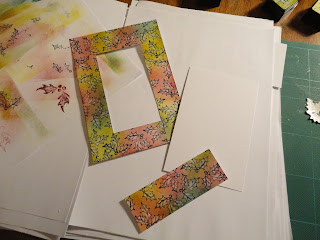
So I have my panel of patterned paper. I want to use it for a frame and for the banner in the sketch, so I cut out the centre. I cut a centre panel from the rest of the sheet of stencil card.
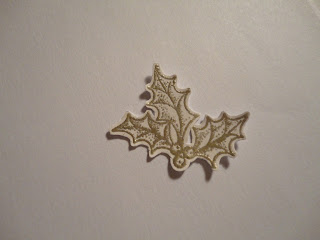
Next I think about the topper. I want to use the holly again (I looked at other holly images I have, but don't like any as much as this one). I used a scrap of the card, aged it with antique linen distress ink, then dusted with an anti-static bag and stamped the holly with watermark ink. I heat embossed in platinum and then cut out the image.
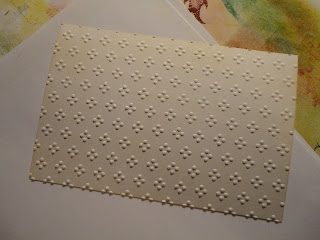
Next to the background panel. I wanted to use an embossing folder to add pattern without more colour as the holly pattern I've made is quite forceful. I started with a Tattered Lace holly pattern folder, but this was a bit much as well, so settled for a simple dotty embossing folder, also from Tattered Lace.
I aged this piece with antique linen as well, before embossing as I didn't want the ink to pick out the dots and make them more prominent.
Next the sentiment, from a stamp set I got with a magazine. It's appropriate for the design and is a bit different to your usual "Merry Christmas".
I stamped onto more aged card, then mounted on a spare scrap of the patterned paper.
Now I have all the pieces, I can put the card together and see how it looks. Immediately the embossed holly gets lost, so I decide to mount that too. I apply the same colours of distress inks to another scrap of the card, and cut a small rectangle. I edge it with the same platinum embossing powder.
I just need to cut a triangle out of the end of the banner, and edge all the patterned pieces in black. I use the stazon ink pad, then swap to a sharpie pen for the bits on the banner that it won't get into.
I age the front of the card base so it all ties in, then it's time to stick it all together. I have got some more foam tape after my frustration with the mini pads making my last card, which makes it all much easier!
I think this is a very pretty Christmas card, and a little different to the norm, although it uses a very traditional palette of colours.
