I got completely derailed this week! It was the first full week of hubby and daughter back at school after Easter, so I thought I had loads of time - then it disappeared. So my plans for this week's 52 Christmas Card Throwdown card changed when I got to Friday afternoon and hadn't started! I was going to do a Groovi card; that'll have to wait.
I did get two cards made, but we had a play date that I'd forgotten about (oops!) so I didn't quite get the blog posted for the challenge launch.
So the good news is that this is definitely a quick card to make, although I don't think it looks like a quick and simple - and it's always useful to have those up your sleeve!
Rosi is hosting the challenge for May, and she has chosen this sketch for us:
I started with an A5 sheet of Sheena's stamping card. I sponged distress oxides over to make a vague sort of night time landcape/skyscape.
I flicked water over this, then blotted, to give a speckled or starry effect.
This worked much better than I expected - I think it's the card, which is not what I usually use. So now I know!
I cut this down before stamping trees, using black archival. I went through my stamp folders to find a suitable stamp, and found this one. It was one of the first I bought from Clarity years ago, and had forgotten about, but it's really beautiful.
I then cut masks for the tree from copy paper, and stamped again using watering can archival, to suggest distance. Where I missed parts of the stamping, I filled in with a light grey drawing pen, and blotted.
I cut this background down to make three panels.
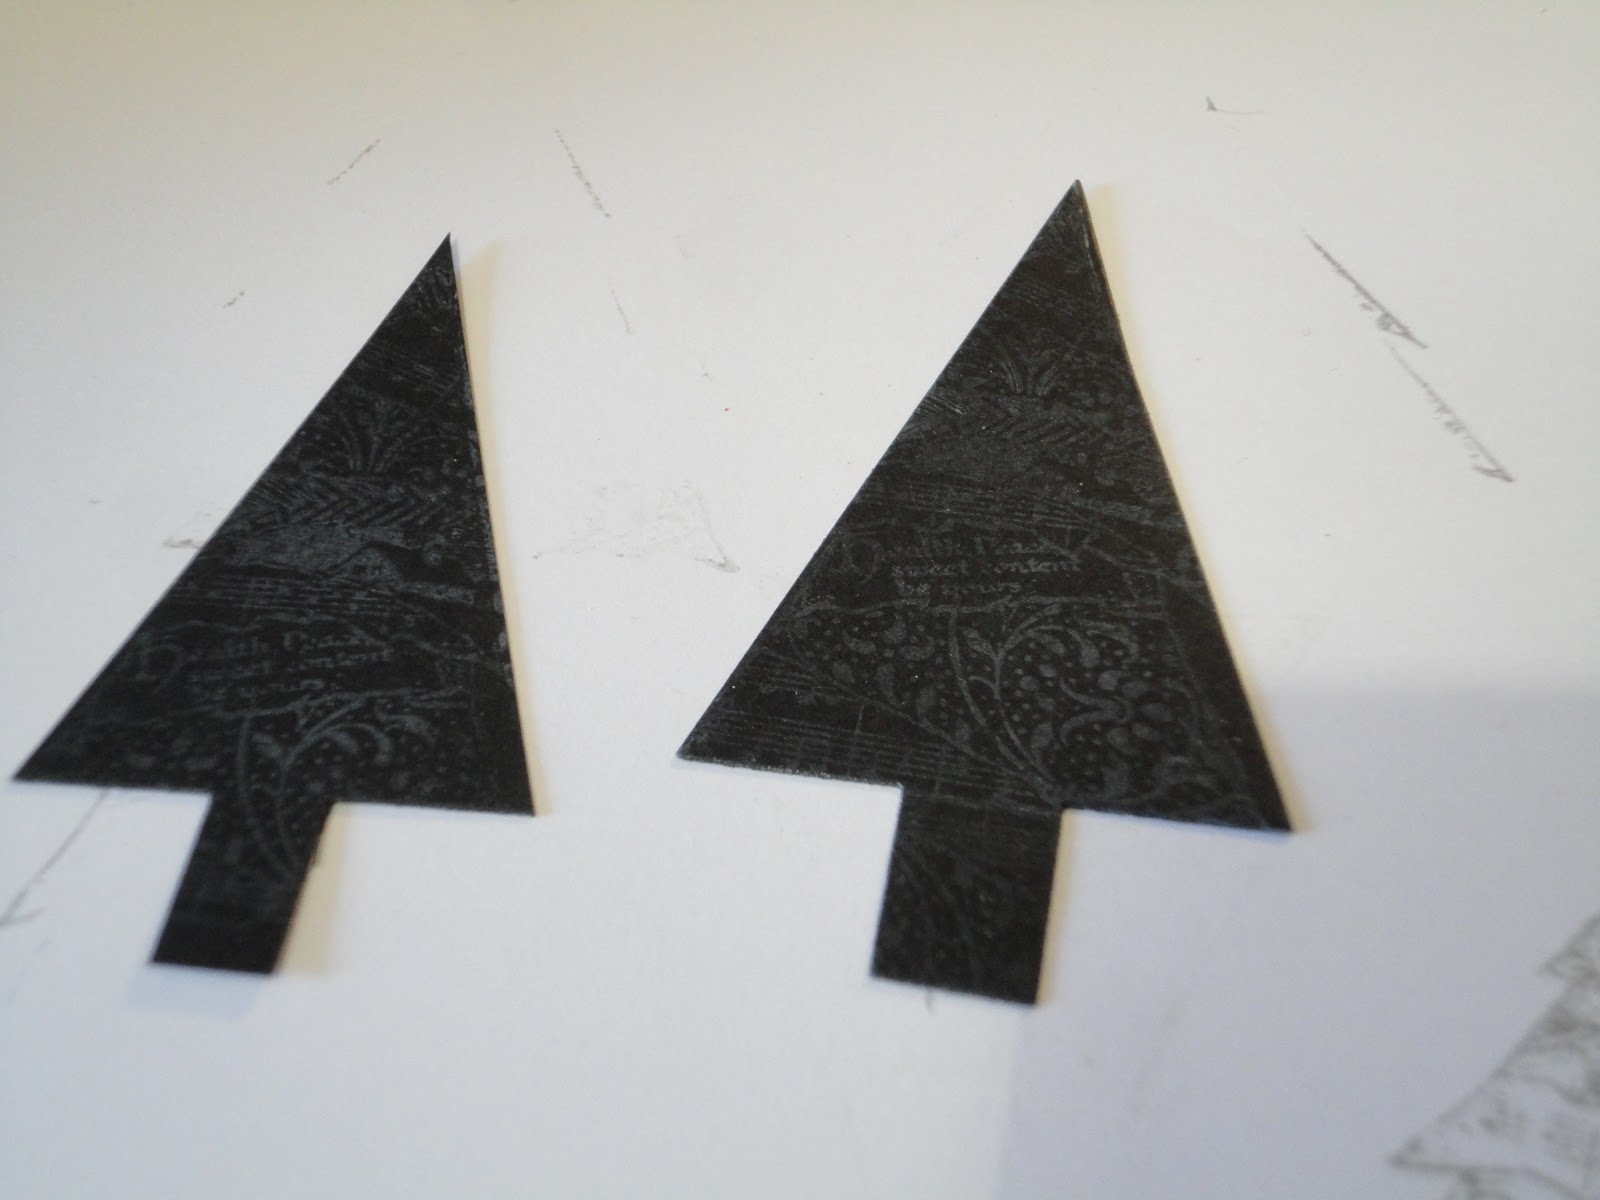
For the toppers, I used sizzix tree dies, in two sizes. After cutting in black, I wanted a greater contrast in size so cut the smaller one down a bit. I also thought they looked a bit plain, so over stamped using the same tree stamp as the background. I used hickory smoke distress oxide, so it'd show on the black, but third generation so it wasn't too strong.
The card went together on a 5x7 card blank.
I love the atmospheric background this has created, and so easy to do! I might bash out some more and use reindeer die cuts, or Santa and his sleigh in the sky.
Just to prove this was a quick card, I made another yesterday afternoon as well, with a music theme.
It occurs to me that as neither have a sentiment they are not identifiably Christmas cards, but I think they have a Christmas feel.
To join in with the challenge, head to the 52CCT blog, it runs until Friday 10th May.
 Another week, another 52 Christmas Card Throwdown Challenge. I'm not getting much time to craft at the moment, but doing this challenge means I make at least one card a week. This time it's a Christmas Baking theme. I had no idea what design to do, but I knew straight away I wanted to use an idea I saw on TV last year - mixing spices with embossing powder so your card smells Christmassy! It's a bit wasted on a blog, but hopefully the final recipient of the card will get the benefit, and it makes me happy.
Having been through my dies, stamps and papers, I had no images that would work for this challenge, so I had to start from scratch. I folded some copier paper in half and started to draw gingerbread man shapes - it took a few iterations to get one I was happy with.
I drew round my template onto kraft card, and cut it out.
Time to make up the special embossing powder! It turns out we don't have allspice or powdered cloves (or ground ginger), so I stuck with cinnamon. I mixed it with metallic copper, then tried embossing with it. I had to reduce the proportion of cinnamon - I started with nearly a quarter of the mix as spice, but that didn't emboss well, so I added more embossing powder to make it about an eighth cinnamon.
I covered the gingerbread shape in natural pigment ink (I found that worked better than watermark ink, which soaked in), and embossed it.
The finish is a bit gritty compared to normal, but looks quite realistic for gingerbread (if gingerbread was shiny!)
Next to decorate the gingerbread man. I'd thought of using white embossing powder and a versa mark pen, but didn't think that would work over the existing embossing. Instead, I dug out some white outline relief paste. I used to do a lot of glass painting; I haven't done any for ages but still have the materials. Using the paste is often compared to piping icing, so I thought it should do the job nicely.
I don't know about you, but I'm pretty impressed with how realistic this looks!
I used black and red little gems for the eyes and buttons.
The only food related item I had in my stash was a candy cane stamp, so I thought I'd use that as well, it'd go nicely with the feel of the card.
I tried it two ways - I stamped it on white in red pigment ink, and heat embossed with clear powder, and also stamped in white on red card, and embossed in white.
 I preferred the ones on red, until I cut them out.
Now it's the red on white that I think looks better, so we'll go with those.
I cut a mount in white and another, larger one in kraft card, to fit on a 6x6 card base. They look a little plain though, so I got out the harlequin stencil from Clarity, to add a little interest to the background. It's quite a simple pattern which I think works with the simple style of the gingerbread man and canes.
I used a stencil brush to add fired brick distress ink to the white mount, and brushed corduroy to the kraft card.

I also got this pice of waste paper, which I think looks great, so I'll save that for the stash.
I went round the edge of the white mount with a red sharpie and a ruler. I edged the kraft card after I mounted it onto the card base, by drawing outside the edge in a red pen.
I used foam tape for the gingerbread man and the white mount, and tiny foam pads cut in half for the candy canes.
And there you have it, my sweet, aromatic Christmas baking card.