We're back with another sketch at the 52 Christmas Card Throwdown Challenge this week.
I love this design, it's sparked so many ideas. I have several cards half made using this, and some stash pieces from things that didn't work out, but here's the card I finished.
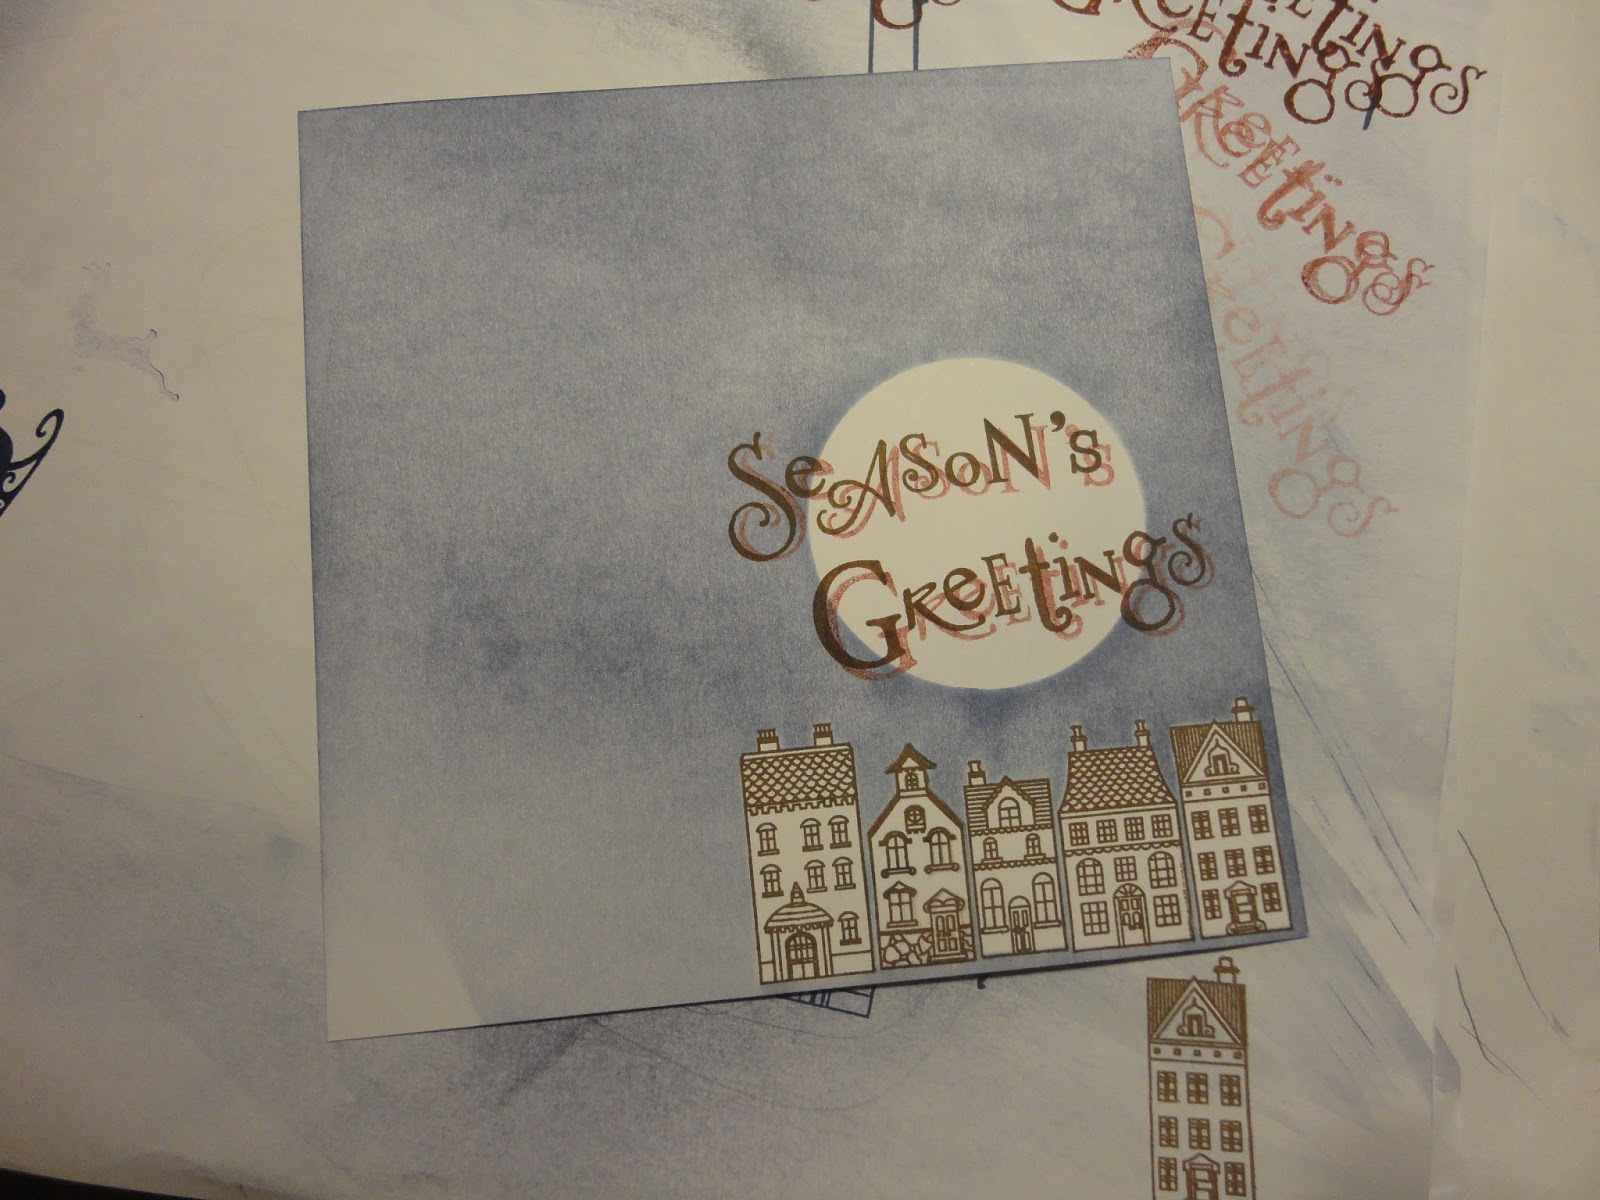
I started with Clarity stencil card, and stamped the wee houses along the bottom, using potting soil archival ink.
I added a mask for a large moon, and also masked the houses (the masks come with the stamps, makes it very easy).
Next I added the sky with chipped sapphire distress ink, using the brayer.
I stamped stars in the background with versa mark, hoping for a resist effect, but they didn't show through the ink.
I used a make up sponge to add ink around the moon and houses, to sharpen up the edges.
With the masks removed, there's a nice contrast.
I brushed a bit of blue across the moon, to tone down the whiteness a little bit.
I stamped a sentiment across the moon, using the Clarity word chains. First time in the potting soil archival.
I took a picture at this stage in case I mucked up the next bit.
I then used aged mahogany distress ink, second generation, for a drop shadow.
Not perfect, could have been straighter and closer to the original, but still like the effect.
I trimmed the card down, and edged with brown sharpie.
Next to add some colour to the houses. I used Faber Castell pencils. Warm yellow for the windows, and red/brown shades to fit in with the line art and words.
For the three squares down the side, I die cut three presents, using a Tattered Lace die.
I cut pieces to fit behind, and brayered ink on in red, brown and blue to coordinate with the background. I didn't like the bows on the die, so cut a different bow using a spellbinders die, and inked though the die to give a white border.
The orginal idea was to have Santa's sleigh going across the moon, which makes more sense of the presents!
This is the first version using that idea, but it was a bit too blue, and I cut it portrait for a 5x7 card base, then didn't have space for the squares. I'll find a way to use this though, maybe add sparkly snowflakes down the side.
This time, I used a 6x6 card base. I mounted the background and the presents on foam tape to raise them up, with the bows on little pads. The top one was off the top of the background, so needed two tiny pads, and a bit of super sticky tape under one of the tails to secure it.
I like the warmth that using the brown tones gives to my favourite blue. It feels much more like a traditional Christmas card.
And I have finally used my wee houses - I wanted these from launch, treated myself in the summer, but hadn't actually put them to use. They're such lovely, detailed stamps.
A theme challenge at 52 Christmas Card Throwdown this week - Gifts.
I thought I'd incorporate these with a lovely sleigh stamp I've been meaning to use for ages (personal "use something I've had for ages and not used" challenge met!). I couldn't remember exactly what it looked like, I hoped it was full of presents, but it wasn't. So I thought I'd fill it, using a tattered lace present die.
I also thought I'd use black coated card (Clarity Card) - which is very dramatic, but difficult to use, as every mark shows!
I started by stamping with versa mark and heat embossing in platinum.
I added a line for the ground, although I wasn't happy with it so changed it later.
I then die cut the present, in black and in Centura Pearl hint of gold. I backed them with the opposite colour, and also in gold.
Thinking I might need a few extras, I cut out a corner die, to use for bits of presents peeping out from behind the big ones.
For the sky, I used a star cluster from Lavinia's stamps. They are in chateau mica powder (on versamark ink) which is a really good match for the platinum embossing powder.
I cut a slit in the sleigh image, along the top of the die, and arranged the presents through it. Once I was happy with the layout, I taped them in place from behind, with a bit of super sticky as well to make sure they were secure.
I cut another section of black card to go over the lower section, to hide the mess I'd made, with the ground line and finger prints etc. I stamped a sentiment from Clarity, and also edged it with a versa mark pen.
Finally, after trimming the image down (removing more fingerprints etc from the edge!) I ran the versa mark pen around the edge and heat embossed for a frame, then mounted on an A5 card base made from Centura Pearl hint of gold, to tie in with the presents.
I do like this colour combo, and I'm pleased with how the presents look in the sleigh, and the sleigh itself - the star pattern has come out beautifully. But I did battle with the glossy card - not an easy card to just knock out this one!
This is my entry to the week's 52 Christmas Card Throwdown challenge. It's a sketch challenge.
The idea for the card came about as I've been meaning to use embossing folders for a while now, and I saw a great white on white card on another blog, so I thought it was time to give it a go. I also had the present die cuts from last week, so I thought they'd go in too.
I started with centura pearl hint of gold card (the same as the die cuts). I tried out two Christmas embossing folders, a Tattered Lace holly design, and a spellbinders M-bossabilities folder.
Decided to go with the one on the left this time.
I backed the presents with a glitter card, to make them solid. It was an encapsulated glitter card, actually self adhesive, although I didn't use it as that. It's slightly creamy, so my card isn't strictly white on white, but close enough for me!
The bottom picture doesn't really show the glitter, it just looks cream, but in real life they're sparkly!
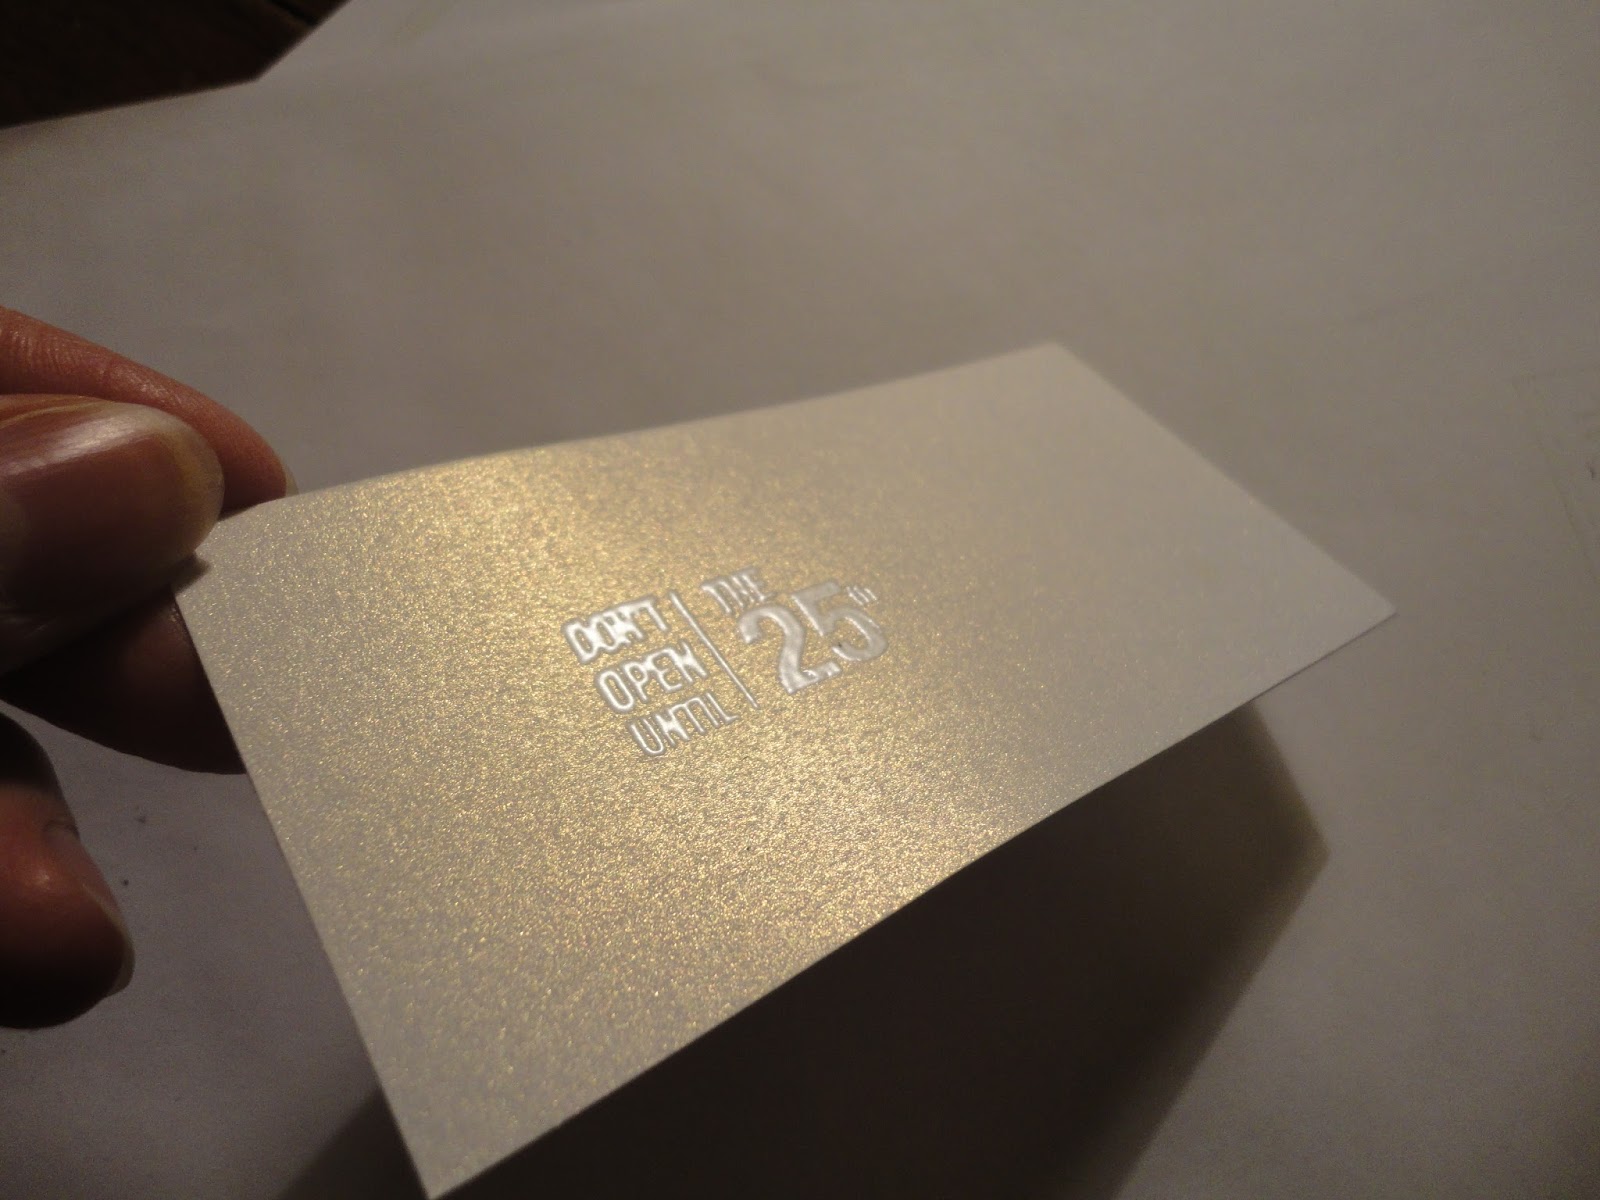
For the sentiment, I found a stamp that was a bit different, and matched with the presents theme - Don't Open Until the 25th.
I stamped onto the same card, and heat embossed in pearlescent silver.
I cut it out with a tag die, then drew round the die on the glitter card and cut outside the line to give a bigger shape.
I punched a hole in it, then mounted the sentiment giving a glitter border.
I had planned to make a patterned panel; I stamped a strip of the same card with stockings, and heat embossed in pearlescent silver.
But when I put it all together it looked far too much!
So, I went and had dinner and gave it some thought, and decided to go for a ribbon panel instead - I thought the satin finish would work well with the pearl card.
I was thinking maybe a lilac ribbon, but found an ivory, so I could stick with my white on white plan! I used a small folded piece of the same ribbon through the hole in the tag.
That just left the construction - I used double sided tape to hold the ribbon round the embossed background, then foam tape to mount the presents and sentiment, and also to attach the background to a 5x7 card base.
I think this is very pretty - with a quirky touch in the sentiment and presents.